

Chemex Brewing Guide: Master Your Pour Over
Updated April 2026. There is something undeniably elegant about the hourglass shape of a classic pour-over vessel sitting on your kitchen counter. If you want to master this beautiful ritual, finding a reliable Chemex brewing guide is the perfect first step toward elevating your morning cup. Unlike standard drip machines, this method requires a bit of patience and precision, but the reward is a remarkably clean and bright coffee that highlights the most delicate tasting notes of your favorite roast.
Whether you are a seasoned home barista or just beginning to explore specialty coffee, understanding the mechanics behind the extraction process can completely transform your daily routine. The thick paper filters used in this specific brewer catch heavy oils and sediment, leaving you with a crisp, tea-like body that is highly sought after by enthusiasts. We will walk you through the essential equipment, the ideal grind size, and the exact pouring technique required to achieve café-quality results.
Grab your favorite light or medium roast, your gooseneck kettle, and a digital scale. By following these straightforward instructions, you will learn how to balance your water-to-coffee ratio perfectly and avoid common pitfalls like over-extraction. Let us dive into the details and brew something extraordinary together.
What equipment do you need for Chemex brewing?
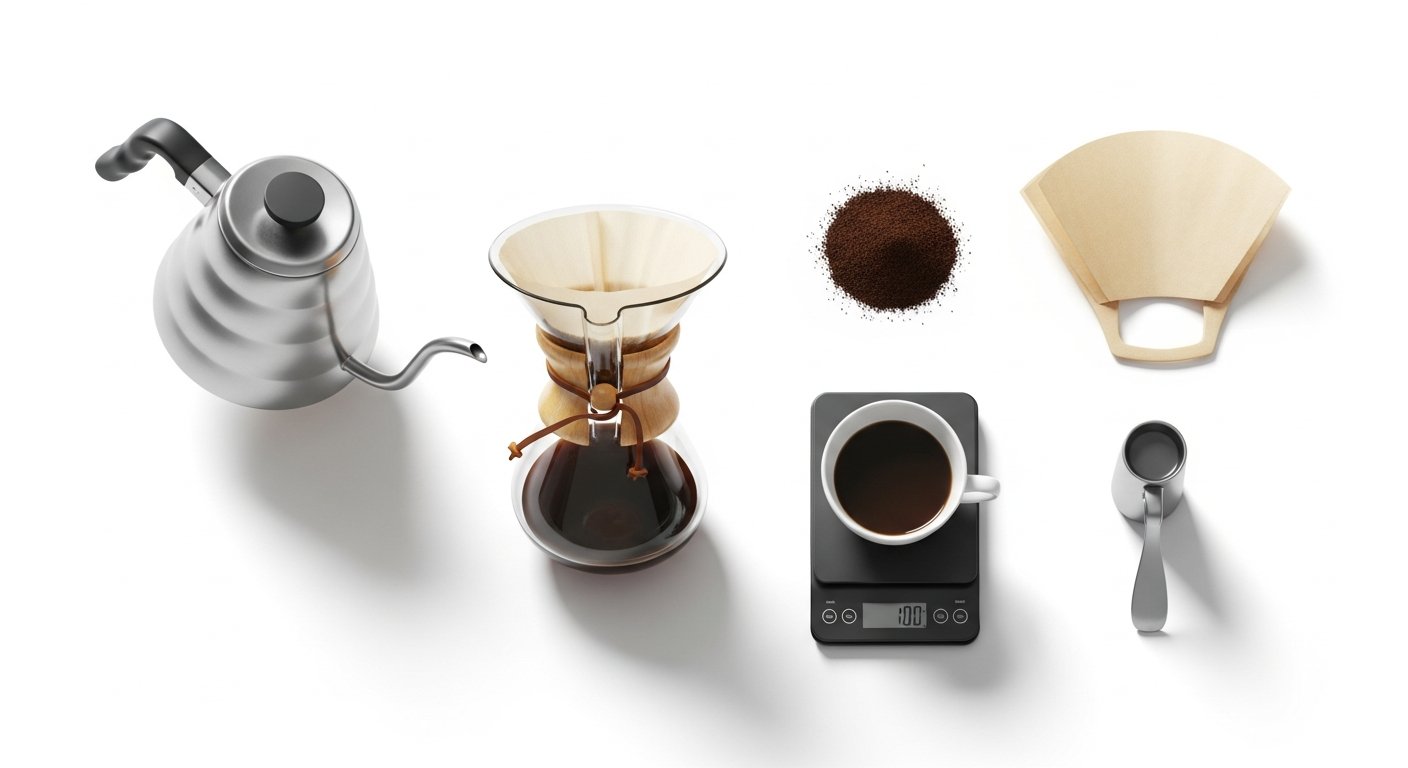
Gathering the right tools is essential before you begin pouring. While the glass carafe itself is the centerpiece, the supporting cast of brewing equipment dictates the final quality of your cup. First and foremost, invest in a high-quality burr grinder. Unlike blade grinders that chop beans unevenly, a burr grinder crushes them to a uniform size, ensuring an even extraction. For this specific pour-over method, you will need a medium-coarse grind resembling rough sea salt.
Next, a gooseneck kettle is non-negotiable. The slender, curved spout provides the precise flow control necessary to saturate the coffee bed evenly without causing excessive agitation. Pair this with a digital scale that measures in grams. Volumetric measurements like tablespoons are too inconsistent for specialty coffee; a scale guarantees your water-to-coffee ratio is perfectly dialed in every time.
Finally, you must use the proprietary bonded filters. These are 20-30% heavier than standard paper filters, designed specifically to filter out bitter elements, coffee oils, and fine sediment. Do not forget your water quality—since coffee is 98% water, using filtered water heated to around 200°F (93°C) will drastically improve your results. For more insights on setting up your station, explore our guide on different coffee brewing methods.
The Science of Precise Chemex Preparation
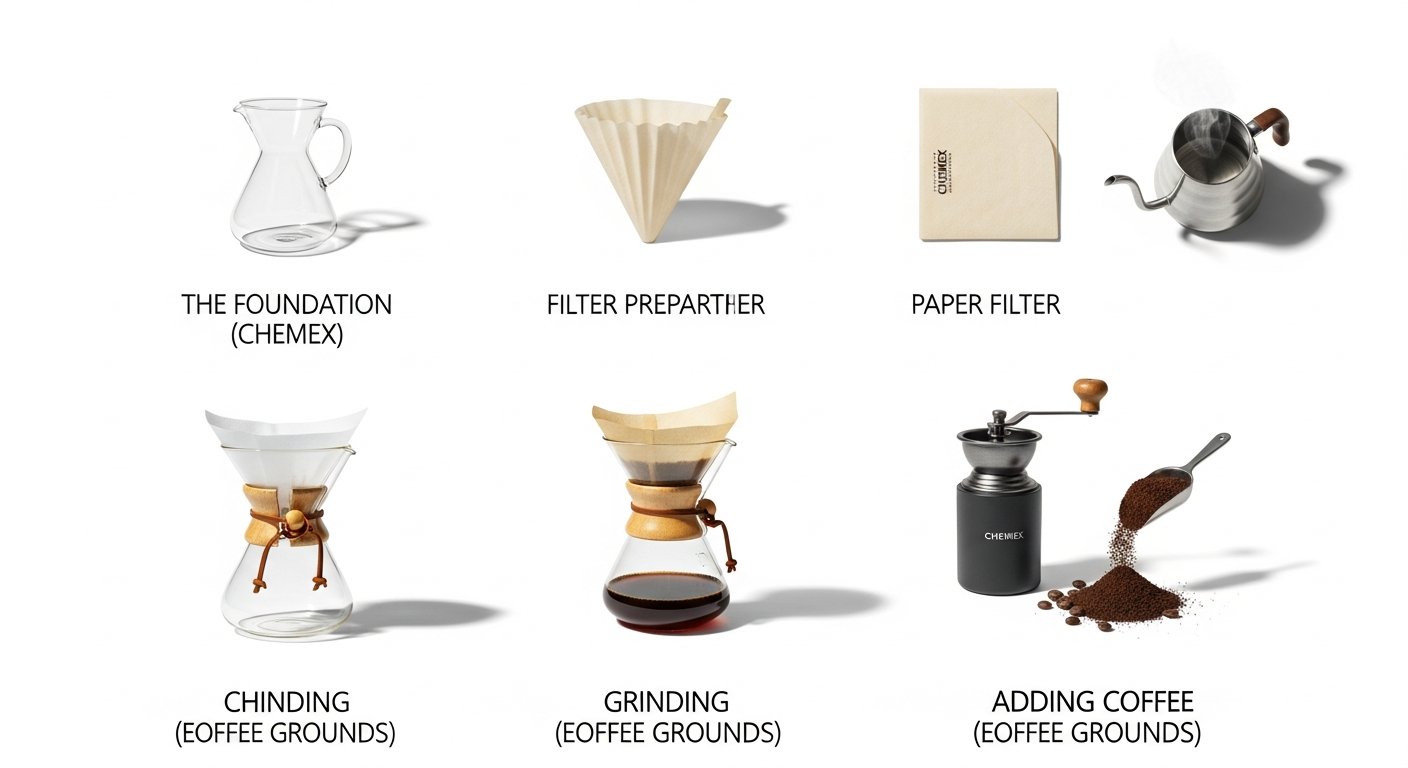
Before a single drop of coffee is extracted, the preparation phase sets the stage for success. Start by unfolding your thick paper filter. You will notice one side has three layers; place this multi-layered side flush against the pouring spout of the glass carafe. This prevents the filter from collapsing into the spout and creating an airlock, which would stall the drawdown process.
Once the filter is seated, thoroughly rinse it with hot water. This crucial step serves two scientific purposes: it washes away any residual papery taste that could taint your delicate light roasts, and it preheats the borosilicate glass vessel. A preheated carafe prevents the brewing slurry from dropping in temperature too rapidly, maintaining the thermal stability required for optimal extraction. After rinsing, carefully pour the rinse water out of the spout while holding the filter in place.
Now, place your carafe on the digital scale, add your freshly ground coffee, and gently shake the vessel to level the coffee bed. A flat bed ensures the water channels evenly through the grounds. Tare your scale to zero. You are now ready to begin the chemical extraction process.
[INLINE IMAGE 2: A person pouring hot water from a gooseneck kettle to rinse a thick paper filter inside a glass pour-over coffee maker.]
How do you brew coffee using a Chemex?
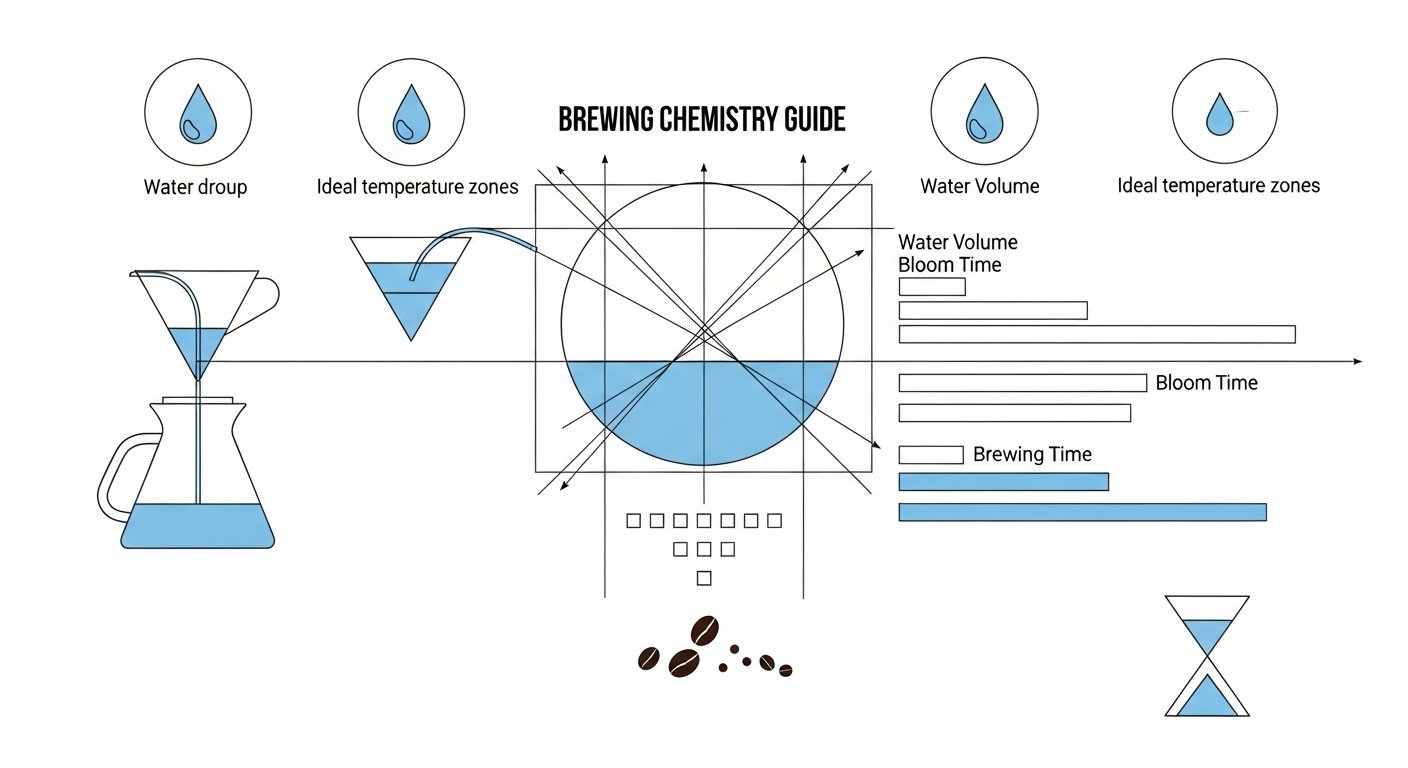
The actual brewing process is a delicate dance of timing and weight. Start your timer and begin the bloom phase. Pour just enough hot water (about twice the weight of your coffee grounds) to saturate the bed evenly. For example, if you are using 30 grams of coffee, pour 60 grams of water. You will see the grounds swell and bubble as they release trapped carbon dioxide—a byproduct of the roasting process. Let this bloom sit for 45 seconds. Skipping this step leads to water channeling around the grounds rather than extracting through them.
After the bloom, begin your main pour. Starting from the center, pour the water in slow, concentric circles moving outward, then back inward. Avoid pouring directly on the paper filter, as water will bypass the coffee entirely. Maintain a steady flow rate, keeping the water level relatively constant in the cone. If your recipe calls for 500 grams of water total, aim to finish pouring by the 2:30 mark.
Allow the water to draw down through the coffee bed. The surface should look flat and slightly muddy once finished, indicating an even extraction. The entire process, from the first drop of water to the final drip, should take between 3.5 and 4.5 minutes. If it takes longer, your grind was too fine; if it finishes too quickly, your grind was too coarse.
Types of Pour-Over Adjustments and When to Apply Them
Ratios dictate your cup’s foundation. While many beginners stick rigidly to a single recipe, adjusting your coffee-to-water proportions unlocks entirely new flavor profiles. According to the Specialty Coffee Association (SCA, 2026), brewing with a precise 1:16 ratio yields an optimal extraction rate of 18-22% for most filter coffees. This specific target balances bright acidity with complex sweetness.
Ratio Modifications
If your daily brew feels too heavy on the palate, stretching the ratio to 1:17 introduces delicate floral notes. Conversely, tightening the ratio to 1:15 creates a richer, more viscous body. When exploring these variables, you will quickly find this glass brewer particularly sensitive to micro-adjustments.
Troubleshooting Common Flavor Issues
Even meticulous home baristas encounter bad cups. Imagine pouring a fresh light roast Ethiopian Yirgacheffe, only to take a sip that violently puckers your lips with a sharp, lemon-rind sourness. This immediate astringency points directly to under-extraction. When water flows too rapidly through a coarse coffee bed, it dissolves only the highly soluble acidic compounds before it can reach the heavier, sweet sugars deeper within the cellular structure. To fix this, simply grind your beans slightly finer. If your cup tastes hollow, dry, or overwhelmingly bitter, you have over-extracted the grounds. Coarsen your grind setting or lower your water temperature to slow down the extraction rate.
| Flavor Profile | Diagnosis | Solution |
|---|---|---|
| Sharp, sour, quick finish | Under-extracted | Grind finer, increase water temperature |
| Bitter, dry, astringent | Over-extracted | Grind coarser, decrease water temperature |
[INLINE IMAGE 4: A split-panel diagram showing the visual difference in a Chemex coffee slurry between a tight 1:15 ratio and a stretched 1:17 ratio side by side.]
Categories of Pour-Over Techniques and Flow Control
Mastering water delivery transforms a good brew into a spectacular one. Bean density shifts dramatically during the roasting process, requiring different approaches to flow control and temperature.
Temperature and Roast Level Techniques
Light roasts retain a dense cellular structure that resists water penetration. They require aggressive extraction parameters, specifically water temperatures hovering around 205°F, to break down the complex organic acids. Dark roasts demand the opposite approach. Because prolonged heat exposure degrades the bean’s structural integrity, dark roasts reach their solubility threshold much faster. Drop your kettle temperature to 195°F to preserve the chocolate and caramel notes. Understanding these mechanics bridges the gap between Arabica vs. Robusta varieties and the final liquid in your carafe.
Advanced Pouring Styles
The osmotic flow technique focuses on pouring a slow, continuous stream directly in the center of the coffee bed. This method maintains a concentrated dome of grounds, minimizing agitation while slowly drawing out deep, sweet flavors. Alternatively, pulse pouring breaks the brewing process into distinct, timed intervals.
Elena Rostova: Pulse pouring in three distinct phases prevents the water level from rising too high, which keeps the slurry temperature consistent and prevents fine particles from migrating to the paper filter and stalling the drawdown.
Unlike the high-pressure environment detailed in our espresso brewing guide, this method relies entirely on gravity and controlled turbulence. If you notice a stalled drawdown, resist the urge to stir the slurry aggressively. High agitation forces fine coffee dust into the paper pores, choking the flow entirely. For those who prefer high-agitation immersion styles, mastering the AeroPress might offer a more forgiving alternative.
Proper Chemex Care for Longevity and Taste
Following a comprehensive routine means nothing if your equipment harbors rancid flavors. Immediate rinsing prevents stubborn residue. Imagine leaving wet grounds sitting in the glass cone overnight after a rushed morning commute. The oils seep deep into the microscopic surface imperfections of the glass. Residual coffee oils oxidize rapidly upon exposure to atmospheric oxygen. This oxidation creates volatile compounds that cling strictly to the glass walls, tainting subsequent extractions with a distinct, bitter astringency. Unwashed glass brewers retain up to 14% of oxidized lipid compounds from previous uses, measurably degrading cup clarity (Specialty Coffee Association, 2026).
Deep Cleaning and Stain Removal
Even with diligent daily rinsing, a cloudy film will eventually develop inside the lower chamber. This is often calcification scaling, a rigid layer of mineral deposits left behind by heated hard water. To dissolve this buildup without damaging the vessel, use a dedicated coffee detergent powder. Fill the carafe with hot water, add a half-teaspoon of alkaline detergent, and let it sit for thirty minutes. The high pH solution chemically breaks down the polymerized oil chains, allowing them to rinse away effortlessly.
Sarah Lin: Never use abrasive sponges or metal brushes on borosilicate glass. Micro-scratches act as microscopic breeding grounds for stale oils and permanently weaken the vessel’s thermal shock resistance.
Storing and Replacing Components
Proper storage prevents accidental breakage and preserves the aesthetic components. Keep the glass carafe away from high-traffic countertop corners. The iconic wooden collar requires specific attention to maintain its structural integrity. Wood expands and contracts constantly with ambient moisture variations. Submerging the collar during washing strips its natural moisture barrier, leading to inevitable cracking and warping. Remove the collar before deep cleaning, and rub it with a food-safe mineral oil twice a year to maintain its supple finish.
You do not need to discard the entire brewer if a minor part fails. The rawhide lace eventually dries out and snaps. Wooden collars can split if accidentally dropped or repeatedly soaked in the sink. Manufacturers sell these specific replacement parts individually. Maintaining these individual elements ensures your pour-over vessel remains both highly functional and visually striking for years.
Sources & References
- Chemex Corporation. “Brewing Instructions.” Chemex Coffeemaker. https://www.chemexcoffeemaker.com/brewing-product-care-instructions
- Hoffmann, James. “The World Atlas of Coffee: From Beans to Brewing.” Firefly Books, 2014.
- Specialty Coffee Association. “Golden Cup Standard.” SCA.coffee. https://sca.coffee/research/coffee-standards
- Rao, Scott. “The Coffee Roaster’s Companion.” Scott Rao, 2014.
Reviewed by Daniel Miller, Senior Editor, Culinary & Culture — Last reviewed: April 08, 2026

